Home Lab Series #1: Setting-up my own iCloud Photos alternative using Immich
November 3, 2025
One of the things I’ve always loved about Apple’s ecosystem is its seamless connectivity. Everything just talks to each other like your phone, laptop, and even your watch, all tied neatly to a single Apple ID. That’s the magic behind iCloud, SharePlay in the real-world.
iCloud Photos is also the same, but it lets you access every shot and memory captured from any device, whether you’re on your iPhone or browsing the web. But there’s always a catch ”storage”. The convenience is amazing, but the space runs out faster than you expect.
I’ve always been someone who clicks a lot of photos blindly just to capture every little moment worth remembering. Recently, I started experimenting with an app called Indigo (Project Indigo), an initiative from Adobe. It lets you shoot DSLR-like RAW photos right from your iPhone.
The quality is stunning, but there’s a trade-off: file size. These RAW images are massive compared to Apple’s default HEIC format. Before I knew it, my iCloud storage was running out of memory.
When this started bothering me, I got reading this interesting Hacker News thread where people were discussing alternatives to Google Photos and iCloud. That conversation really hits me and I thought, why not try building one myself?
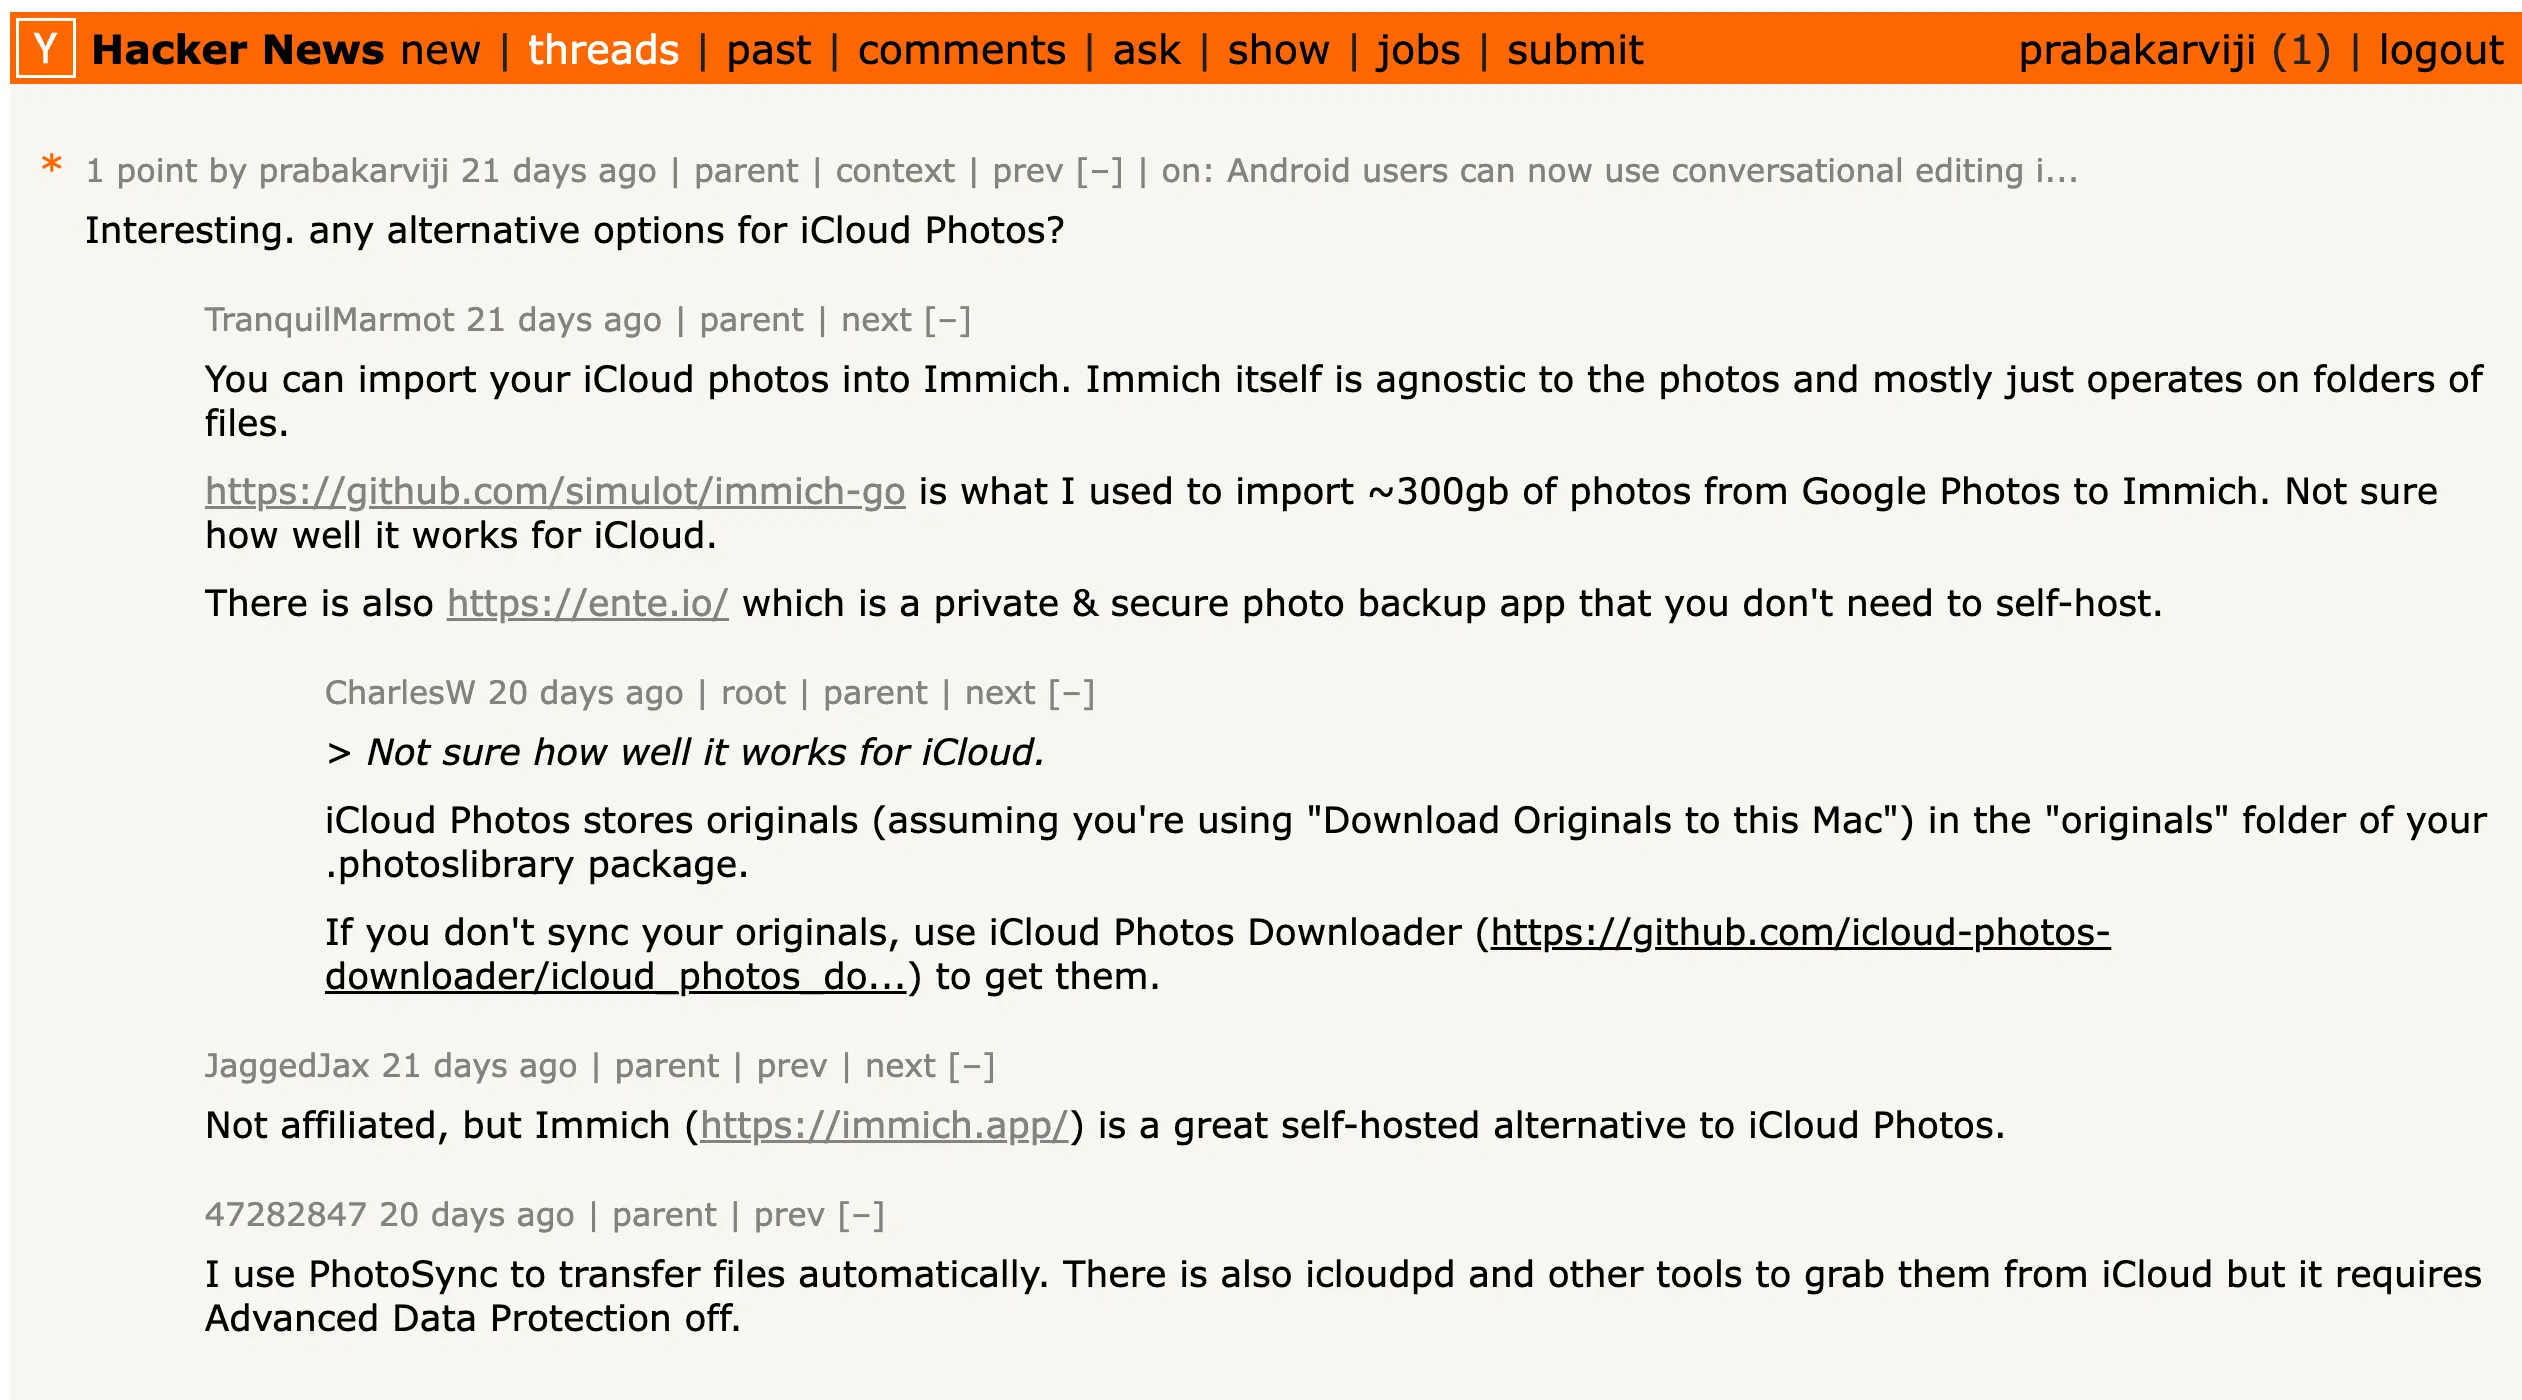
There were a couple of recommendations in the thread, including Immich and Ente. Immich, in particular, caught my attention due to its features, positive stuffs and community around it. It seems promising and worth to try.
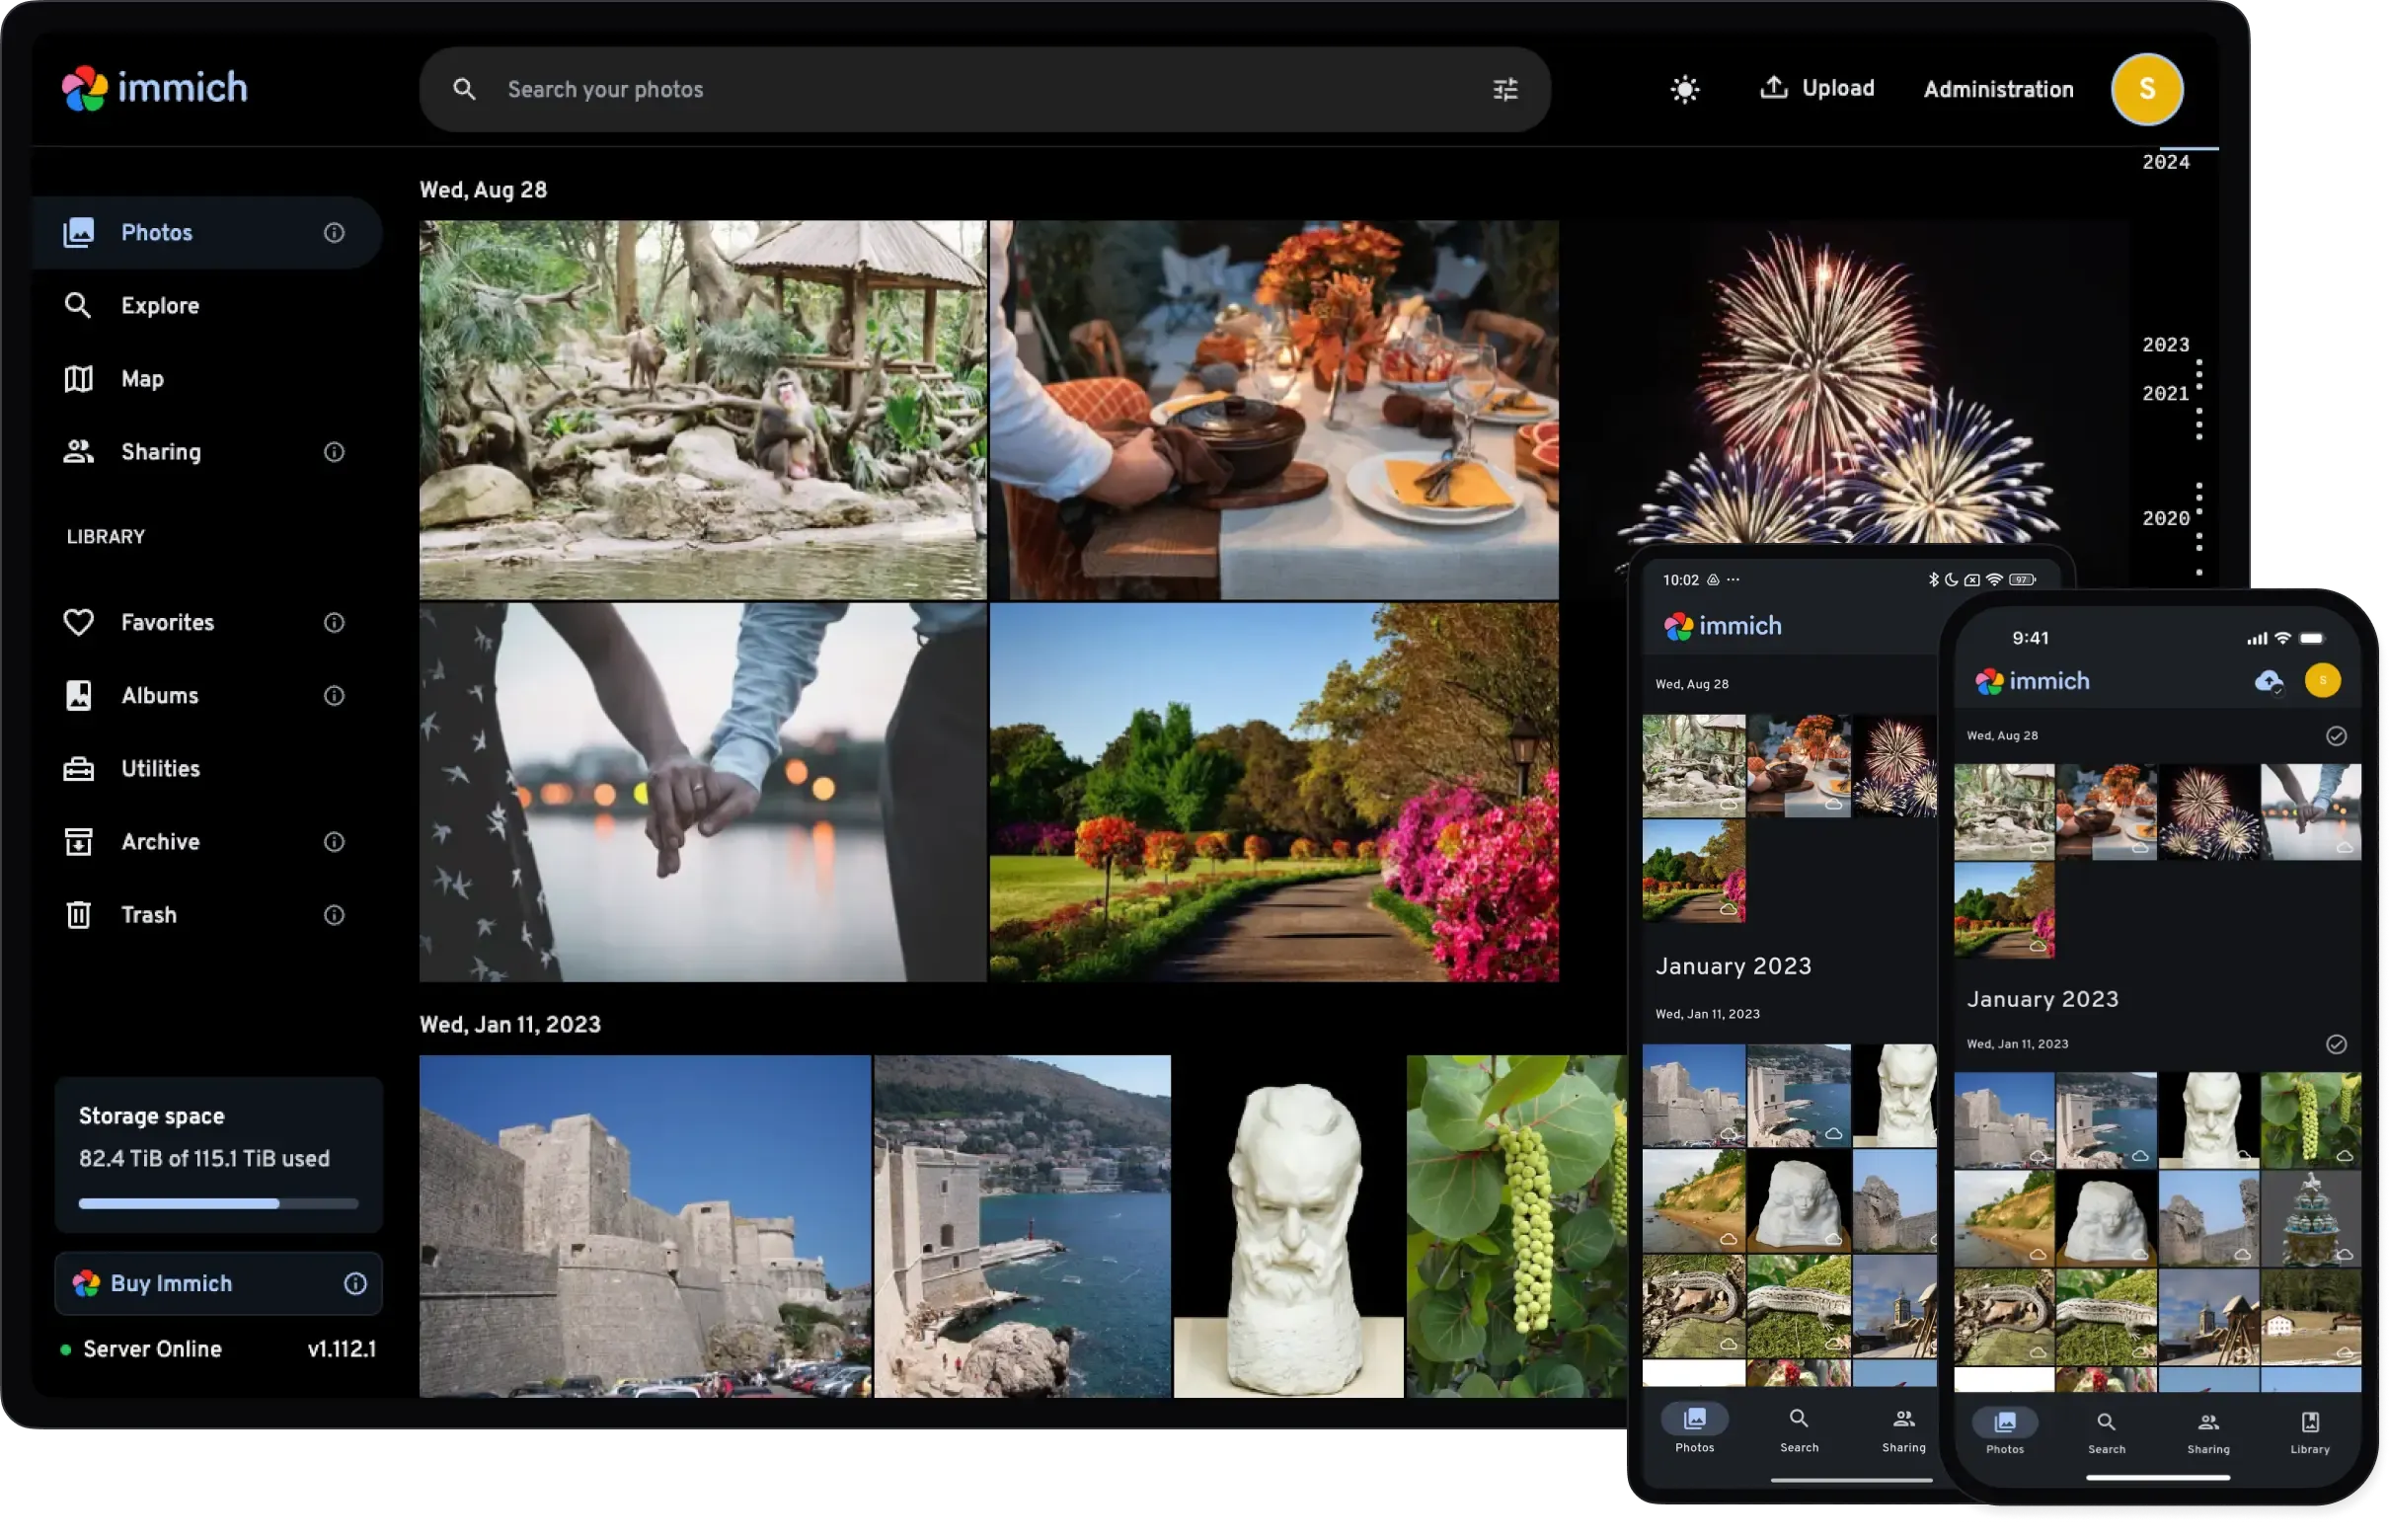
So Immich ?: Open-source & Self-hosted media management platform
Immich is a self-hosted photo and video management solution. It allows you to easily back up, organize, and manage your photos on your own server. With Immich, you can browse, search, and organize your photos and videos effortlessly.
At the same time, I’d been curious about setting up my own HomeLab a small, personal lab to run experiments and keep myself motivated to explore new tools. And luckily, I still had my old Mac Mini, a 7-year-old machine just sitting there, waiting for a second life.
Preparing my machine:

My old machine was still running macOS Catalina outdated by current macOS 26 . As I explored Immich’s documentation, I noticed one clear recommendation : it runs best on a Linux-based environment rather than macOS.
Fortunately, there was a way to cast a new avatar to this old system. I decided to replace macOS with Ubuntu Server 24.04 LTS. Honestly, this was the only time I truly felt happy having an Intel-based Mac (Sorry, I’m an Apple Silicon fan 😅).
As Intel based macs supports EFI (Extensible Firmware Interface), it was easy to make Ubuntu OS compatible with Mac. I created a bootable USB drive using Balena Etcher, plugged it into my mac mini, held down the Option key, and selected “EFI Boot.” A few terminal prompts later, my old machine was running the latest Ubuntu Server sleek, minimal, and ready to host my next experiment.
I feel it was that quite easy for now!
Environment Setup (Docker & Immich)
Once my machine ready with Ubuntu Server, I wanted something simple and clean process to install Immich on it. That’s why I went with Docker. It lets me run Immich and all its dependencies (Postgres, Redis, ML service) inside lightweight containers without cluttering my system. If anything breaks, I can just restart a container, no further chaos.
To keep things organized, I created a small .env file to store database names, passwords, and upload locations. It’s like a central place for configuration so I don’t have to hardcode anything .
Then came the docker-compose.yml, which defines how everything connects Immich server, web, database, Redis, and ML service — all running as a mini self-contained ecosystem. One command, docker compose up -d, and my Immich server setup is ready.
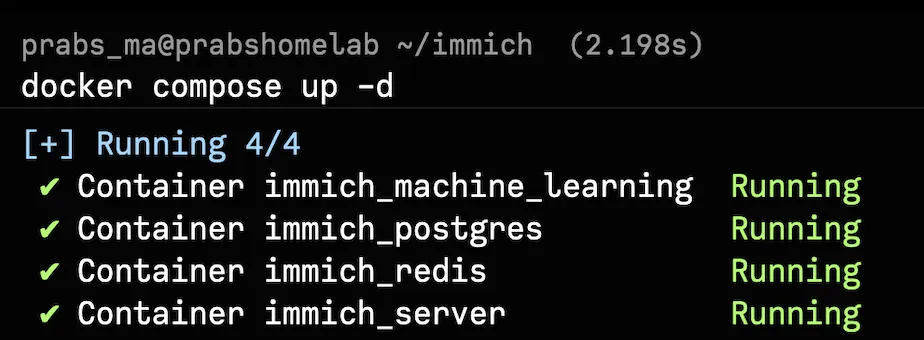
It’s surprisingly satisfying to watch containers start, connect, and settle into a healthy rhythm — my old machine running like a mini data center again.
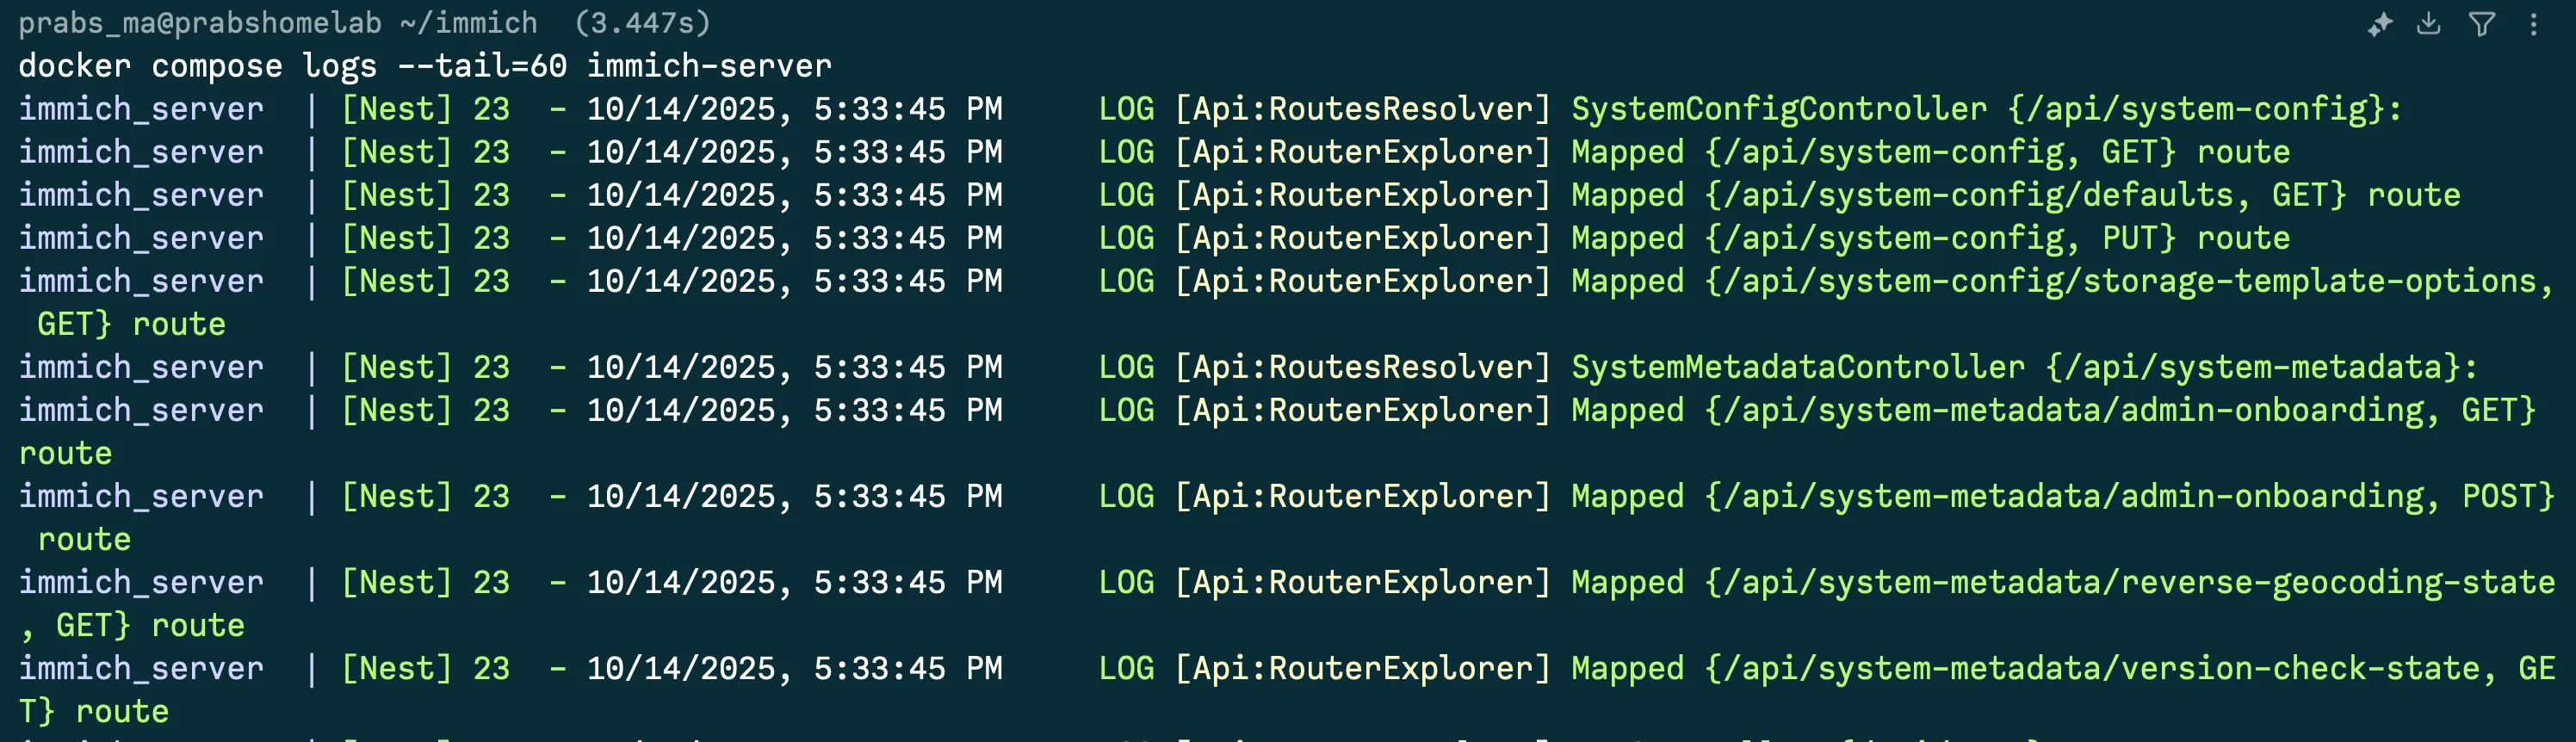
Finally, I keep an eye on the system using simple Docker logs:
docker compose ps
docker compose logs -f immich-server
The First Launch
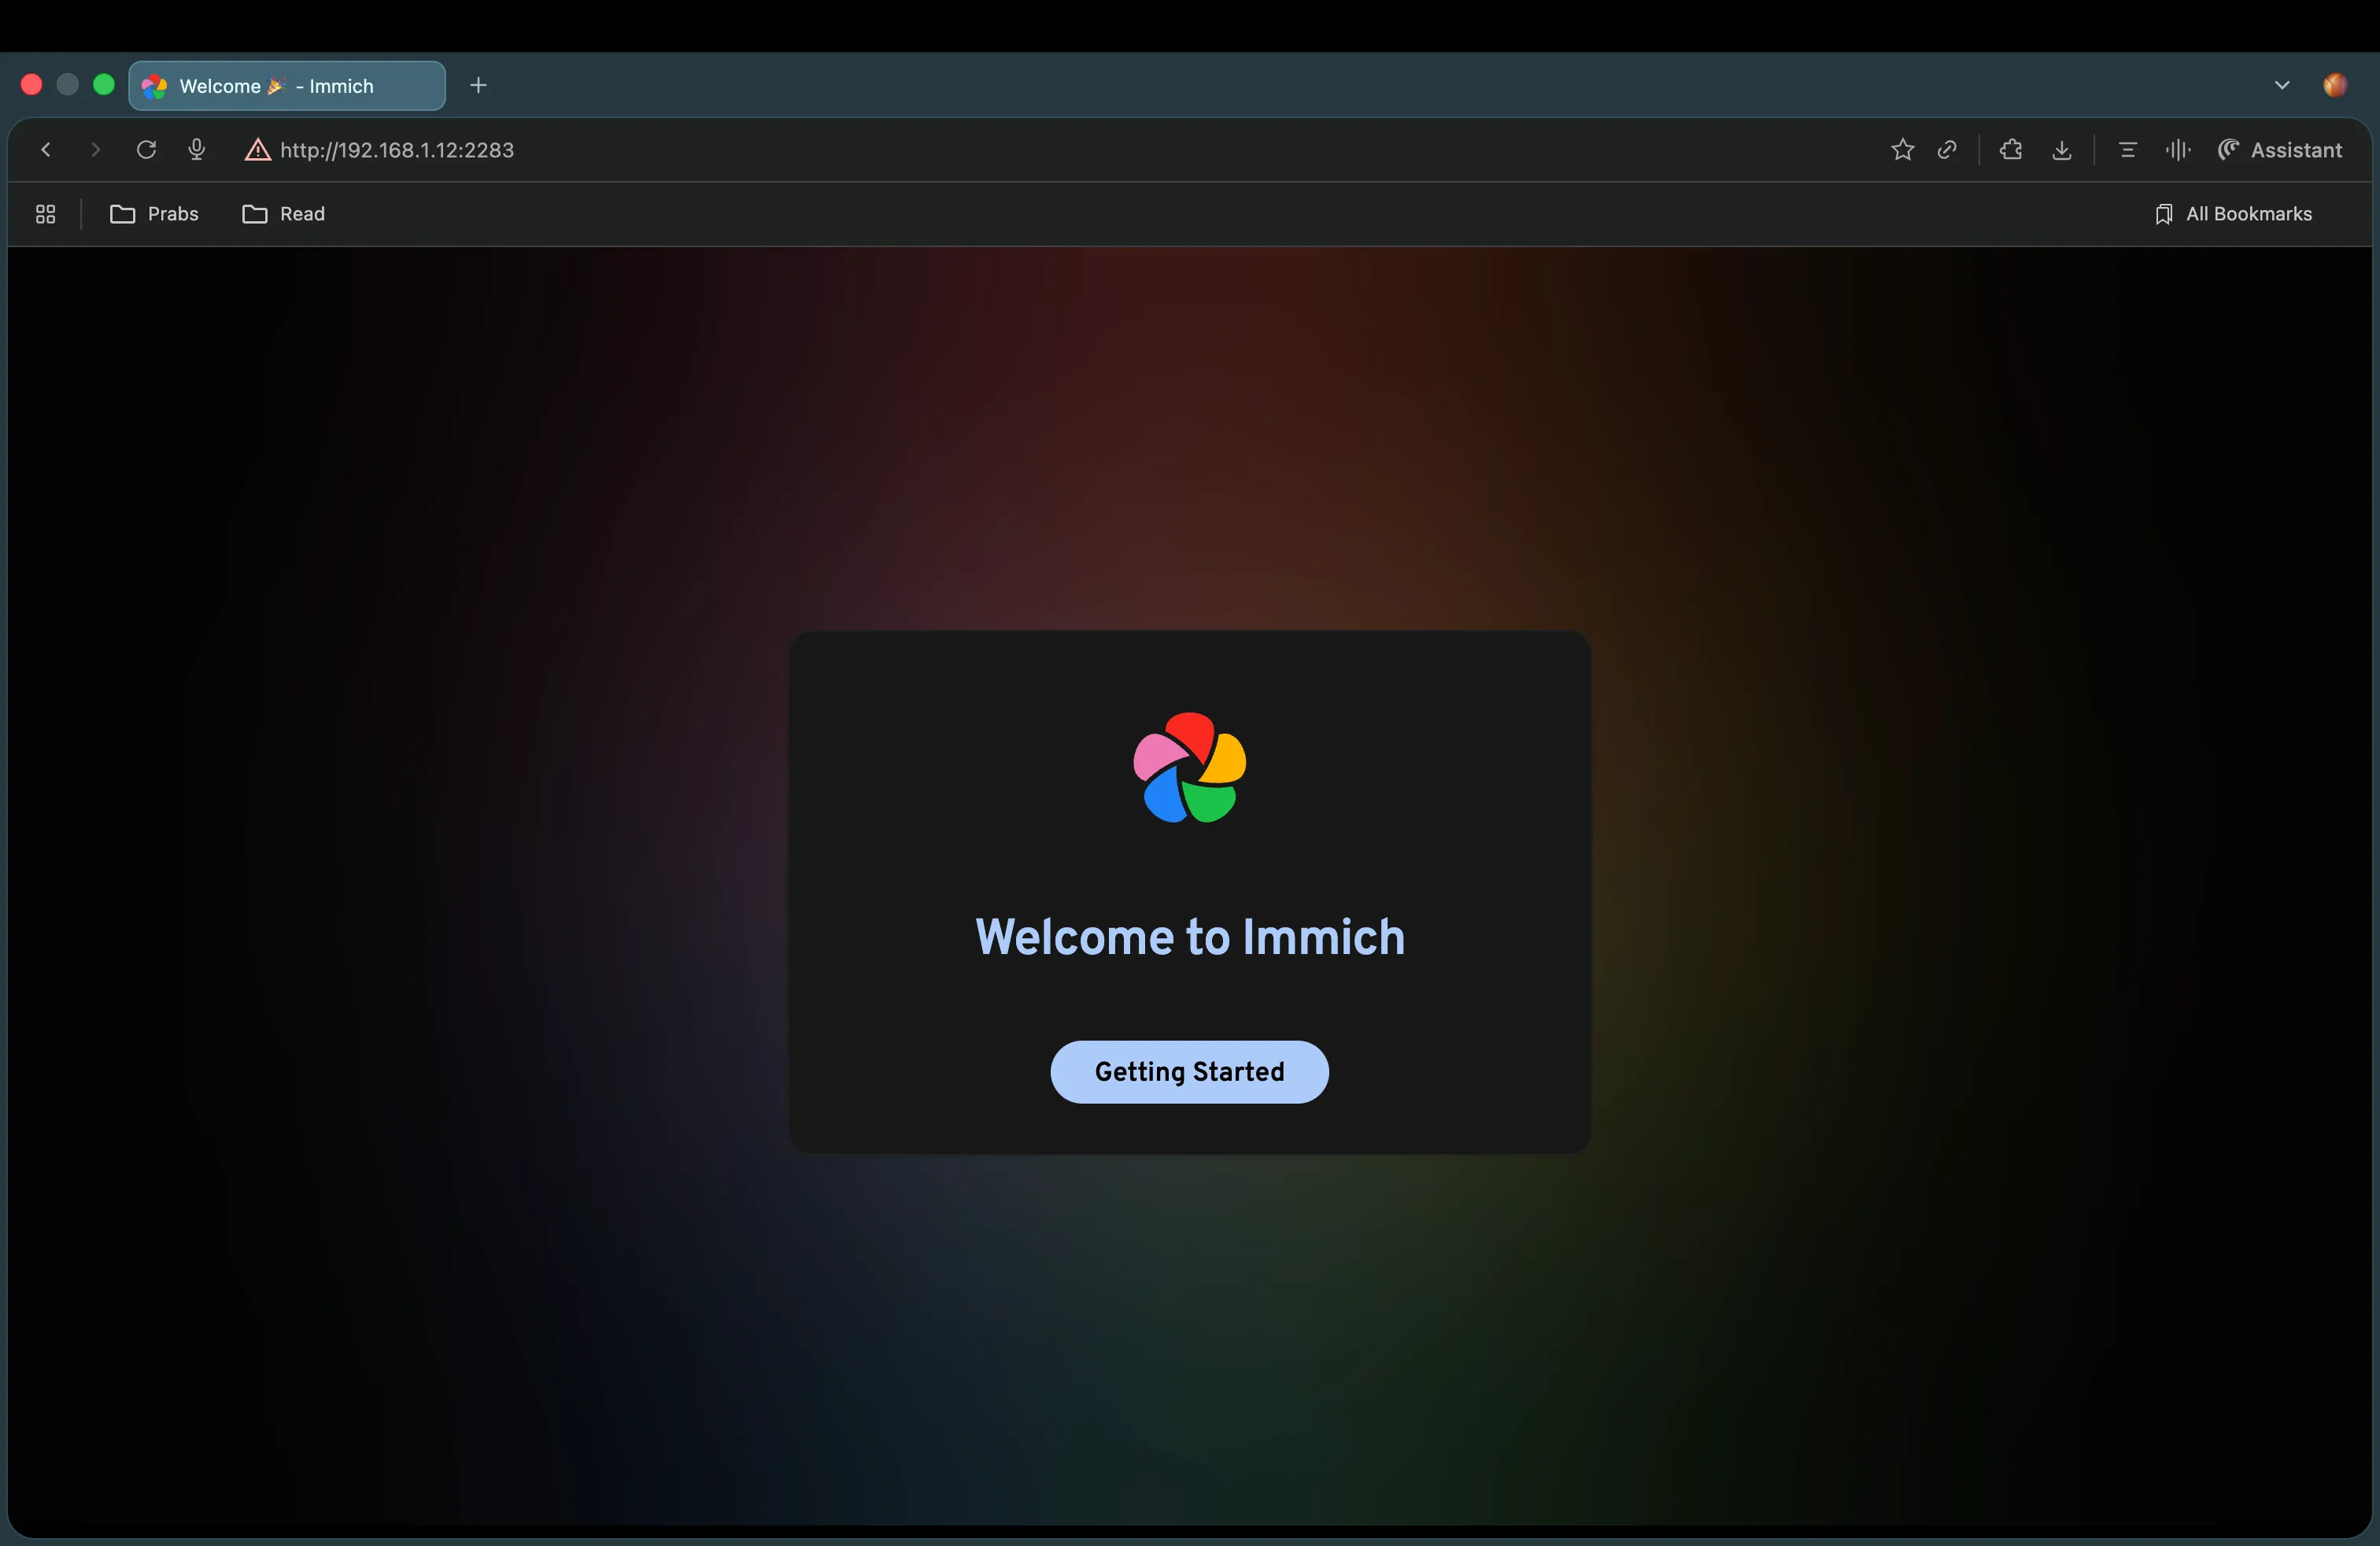
Within a minute, my terminal lit up with container logs — databases initializing, Redis connecting, and the Immich server coming to life. I opened my browser, typed http://localhost:2283, and there it was — Immich’s clean, modern interface, running entirely on my machine.
I uploaded my first photo (a random Ferrari logo), expecting something to break. But it didn’t Immich instantly processed it, generated thumbnails, and even tagged it automatically using its built-in machine learning service.
That was my “it works!” moment . Watching an old computer serve as a private, AI-powered photo cloud.
Local Sync
After getting Immich up and running, the next goal was to make sure it behaved like iCloud Photos automatically syncing pictures from my phone to my private cloud.
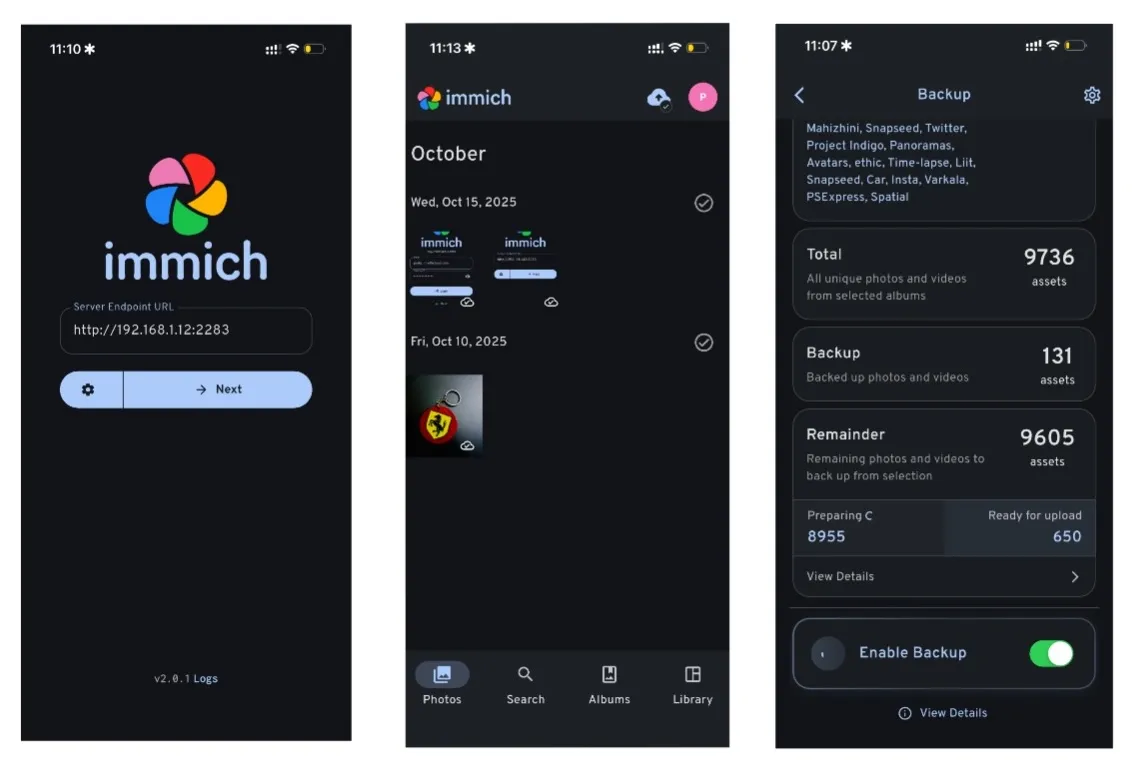
Immich makes this surprisingly easy. Once I installed the Immich mobile app, it immediately recognized my local server (running on http://192.168.x.x:2283). I logged in, selected my photo library and the syncing began. No fancy setup, no cloud middleman.
The best part? Everything stays within my home network. Photos upload over Wi-Fi directly to the server sitting in my bed room lightning-fast, without touching the internet. It’s like iCloud, but faster, private, and completely under my control.
Now every photo I take gets backed up automatically to my local Immich instance. I can view, search, and organize them through the web app or mobile, all with zero subscriptions or storage limits.
What’s Next: Remote Access
So far, everything runs beautifully inside my home network fast, private, and reliable. But there’s one catch: I can only access my Immich photo cloud when I’m connected to Wi-Fi at home.
That’s about to change. On the next side of this HomeLab experiment, I’m planning to make my setup remotely accessible using Tailscale and Cloudflare Tunnel.
In the next post, I’ll walk through how I configure both so I can view, upload, and manage my photos from anywhere in the world while keeping everything completely private.